Schedulable Resource Groups
REQUIRED FIELDS FOR SCHEDULABLE RESOURCE
Name
Process Description
This application allows you to use resources in P2 such as docks/truck or create your own resource and manage other P2 applications that use those resources (orders, prereceipts, etc). The resources can be managed through a single application (a specific order or specific prereceipt) or they can be managed in bulk (all orders and/or all prereceipts available will show up on a list to be scheduled with your resource. Anything scheduled will put a notation on the Event Calendar).
1) you create a prereceipt and DO NOT check Is Delivery then it will show up as available to schedule for one of your Resources (truck) to be picked up by the food bank.
2) you create a prereceipt and check Is Delivery then it will show up as available to schedule for one of your warehouse Docks for Shipping/Loading Docks.
This is the same for agency orders. If they are flagged for pickup then they can be scheduled for Shipping/Loading Docks whereas if they're checked for Is Delivery they will show up with Delivery Vehicles. If you forget to check the Is Delivery option on agency order it will not show up on your bulk management to schedule your orders.
Process
P2 comes with two hard-coded resource types; Delivery Vehicles and Shipping Docks. These can be tied to prereceipt and orders for scheduling purposes. Each resource type needs a resource added in order to function. Using the Delivery Vehicles type of resource, you will need to enter the trucks you have such as "produce truck", "blue truck" ,"freezer truck", "truck #1", etc. You can create as many vehicles or docks as wanted. If you add a resource type IT WILL NOT be a system function tying it to P2 elements. It is for food bank information only. What does that mean? If I have an agency order that's flagged for delivery, I am going to schedule it on my "blue truck" for a specific date/time, that is using a hard-coded resource. But maybe I want to create a resource called "staging" and I want to put all of my orders going out this week in a staging area. I can use the bulk management for my "staging" resource and tag what orders need to be staged. This "staging" does not change the scheduled delivery of this order, it's in addition too. I can then run a report for all of my orders that are part of the "staging" resource.
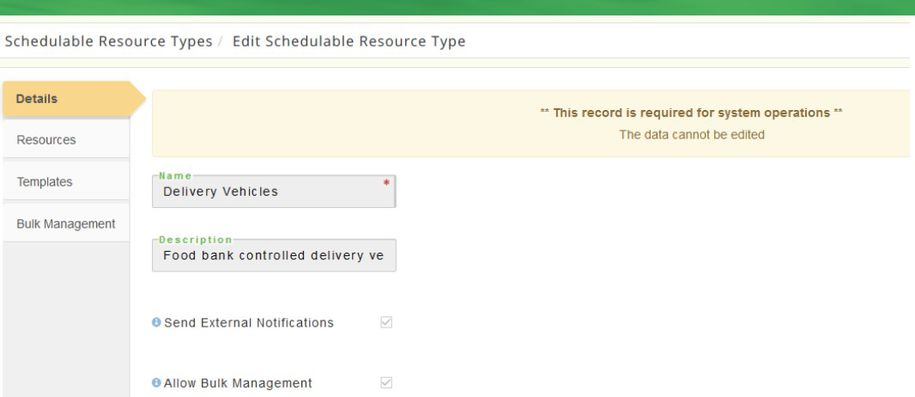
Details tab displays the name and description for the resource type. The P2 hard-coded types cannot be edited. The send external notifications is used to let the agencies know their schedule. If you make a change it will send them a notification as well. Allow bulk management is for the food bank to manage mulitple orders/ prereceipt pickups at once.
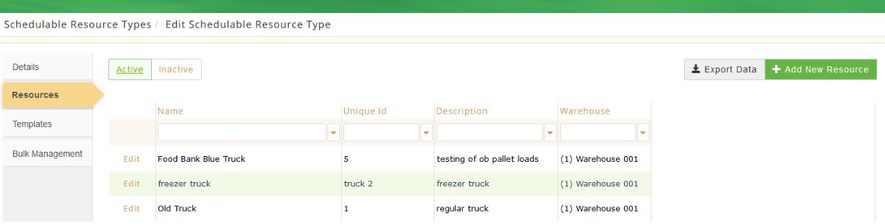
Resources tab displays the available resources. You can create the resource here or in the Resources tab. The screen shot below shows that I created 2 shipping docs and 2 receiving docks. If using Bulk Management you can drag orders to the shipping docks and prereceipts to the receiving docks. It's not necessary to separate shipping and receiving. It can just be 1 location called Dock that does both. This was just for demonstration purposes. Names are arbitrary, you can put any orders/prereceipts into any of these locations. I named them this for ease of use.
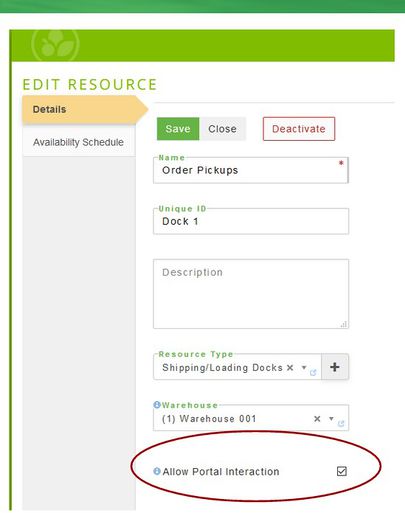
Next you must tell P2 when the resource is available and if that resource can be used on the scheduling portal. For example, your food bank has 3 trucks but only 1 is used for agency deliveries, maybe the other truck is a semi that's used to pickup goods from donors/vendors or one is a freezer truck. You don't want to give your agencies the ability to select any of those 3 trucks, only the delivery truck. You must check the box "Allow for Portal Interaction" to make it available for the other programs in P2 (including orders -agency deliveries/pickups).
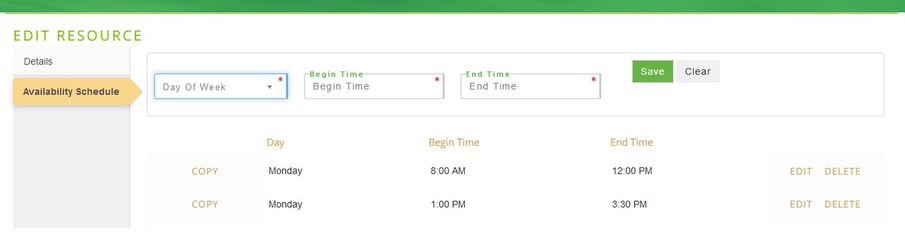
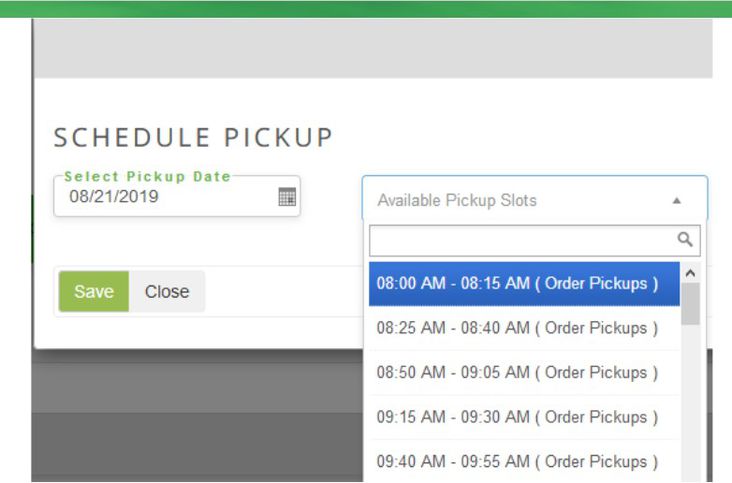
For this dock, we have it available from 8 until noon, then we are closed for lunch and it's available from 1pm until 3:30pm. The agency will only see blocks of a selected time interval that is set up by the food bank.In a few slides down in our example we can see the orders are set to use 15 minute increments for pickups. This works with the template tab. The template for agencies orders is called "order". If you set the order to 15 minute slots the system will know that the first appoint would be 8am until 815, the next is 8:15 until 8:30 UNLESS in the PWW setup you add a pickup time buffer. If you add a buffer the system will include that in the incremental schedule. Example, if you have a 10 minute buffer your first appointment time would be 8:00 to 8:15, then 8:25 until 8:40, followed by 8:50 until 9:05, etc.
This is what the agency sees on PWW if live scheduling is enabled.
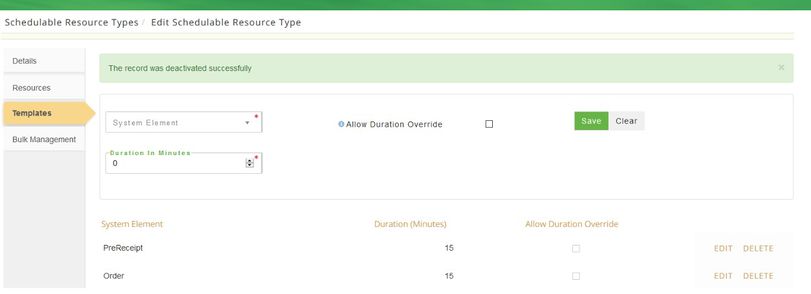
Templates tab This is a required tab. You must select all Systems that can and will use your resource. For example, for food bank trucks that would be Orders, PreReceipts, Retail Pickups, etc. Then you must give a duration for each of those elements. You can have the same system element with more then one duration. If you have an agency that placed a large order they may need 30 minutes vs doing an agency order for 15 minutes.
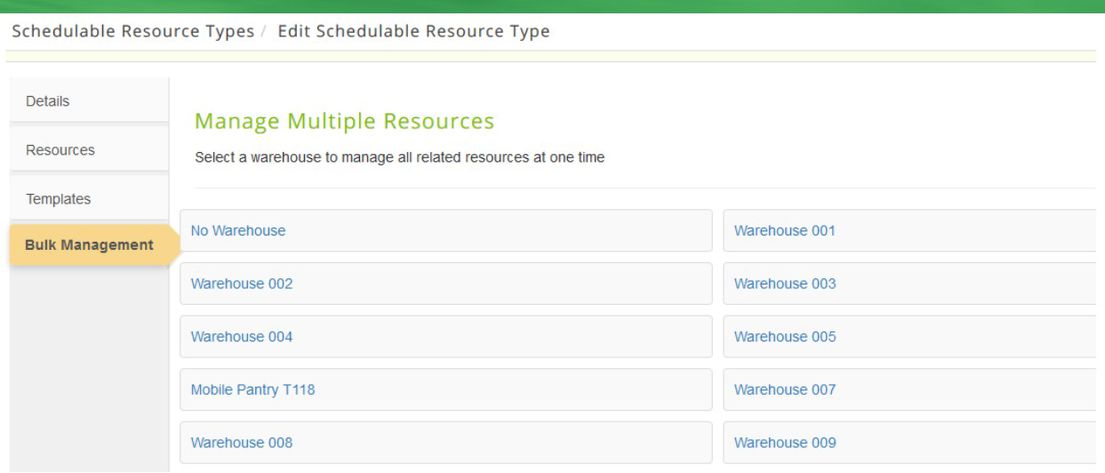
Bulk Management tab is used to manage multiple resources for a warehouse at the same time. In this screenshot the food bank has multiple warehouses, however you may only have one. Select the warehouse and a message displays that you are about to navigate away from the current page, click Yes.
After selecting the warehouse you must select a date from the calendar.
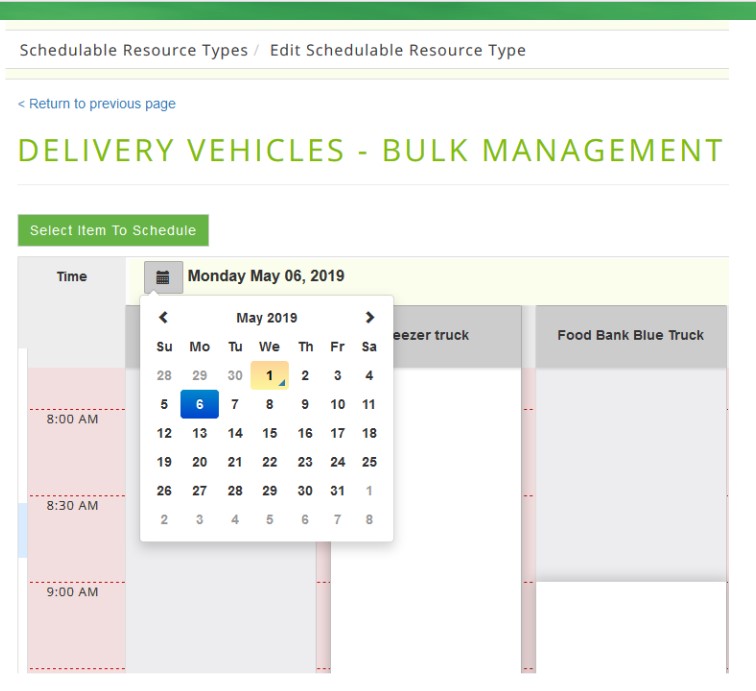
The resource availability is displayed. If it's greyed out it's not available. In the screenshot below the "Old Truck" isn't available on Monday until 1pm.

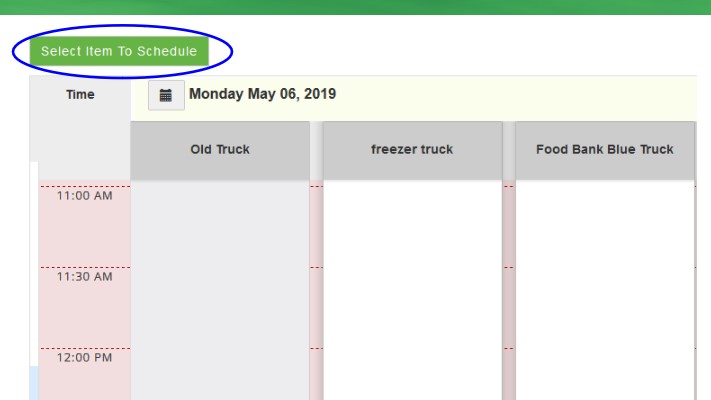
To schedule the application (prereceipts/orders, etc.) click Select Item to Schedule.
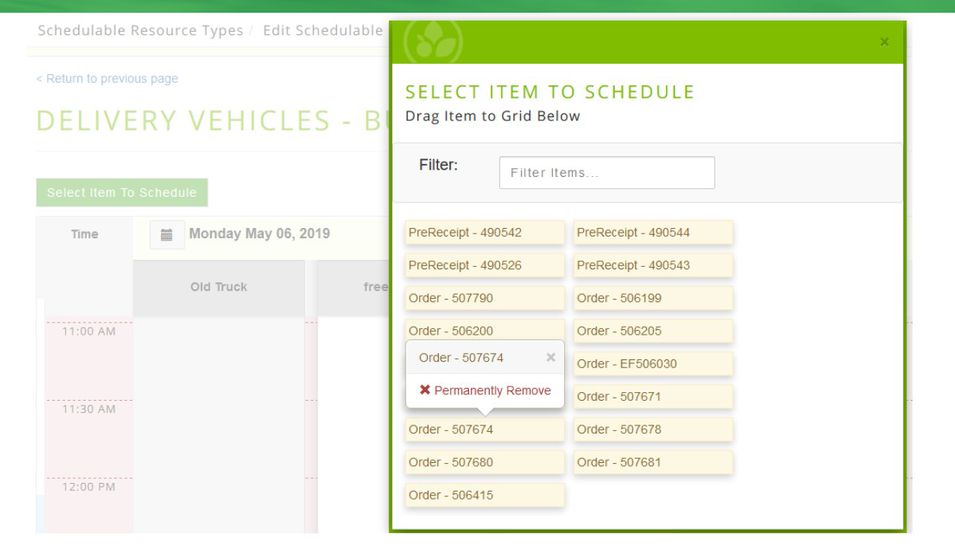
All items that can be scheduled for this resource display. You can filter for something specific otherwise just drag an item from the list onto the available resource. Hover with your mouse over an item, left click and hold and drag it to the resource (one of the trucks) and release.
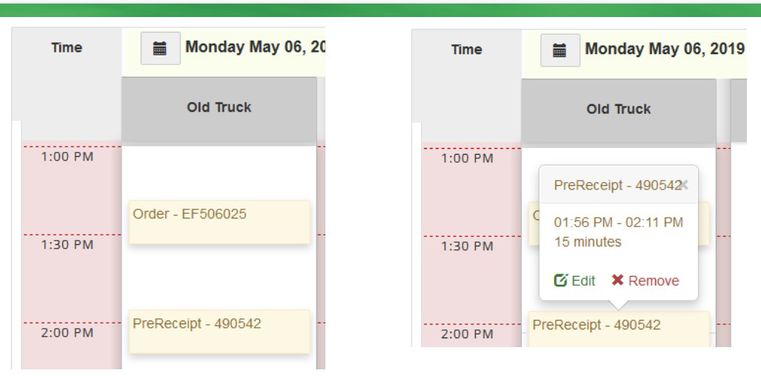
This is what displays after you drag the item in the first screenshot. If you hover over the item it will allow you edit or delete it as in the second screenshot.
VIEW/EDIT
Locate the resource and click Edit and new page opens with resources. If any changes are made click Save.
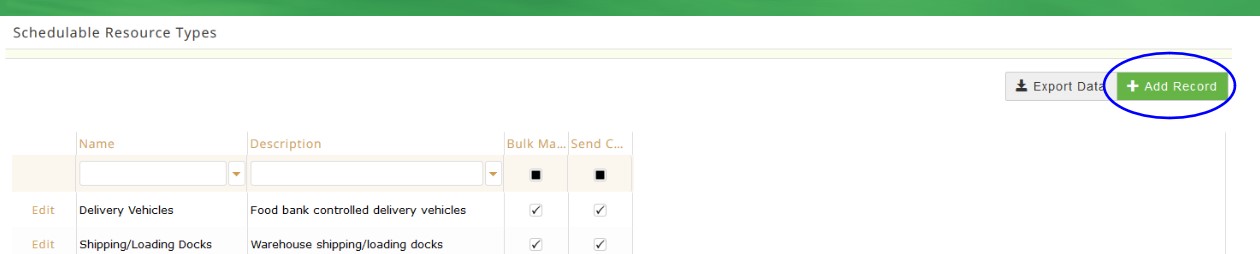
Add Resource
Click + Add Record and type in the name for the new resource type and a description. There are options to send external notifications and to allow bulk management. Once entries are completed click Save a message displays The record was saved successfully. To add resources to this type locate the resource and click Edit. The Details about the resource type displays and there are tabs for Resources and Templates. Click on the Resource tab and +Add New Resource, a new page opens, complete the fields and click Save. There are options to now add the availability schedule for the resource, once you enter the availability the Details tab displays. Click Save.
To Deactivate a Resource Type:
Locate the resource type, click Edit and the details page opens. Click on Deactivate and the system prompts Are you sure you wish to deactivate this schedulable resource type? Click Cancel to return or Deactivate to continue and a message displays The record was deactivated successfully.
To Deactivate a Resource from a Resource Type
Locate the resource type, click Edit and then select the Resources tab. A new page opens with all of the resources, select the resource and click Edit then choose Deactivate the system prompts Are you sure you wish to deactivate this schedulable resource? Click Cancel to return or Deactivate to continue and a message displays The resources has been deactivated successfully.
Definitions:
Name Enter a name for the resource.
Description Enter a description for the resource.
Unique ID Enter a unique ID for this resource.
Warehouse Select the warehouse.
Resource Type There is an option to use an existing Resource Type from the drop-down menu or to add a new resource type click on + to open a new page and add a Schedulable Resource Groups .