AP Invoices
REQUIRED FIELDS
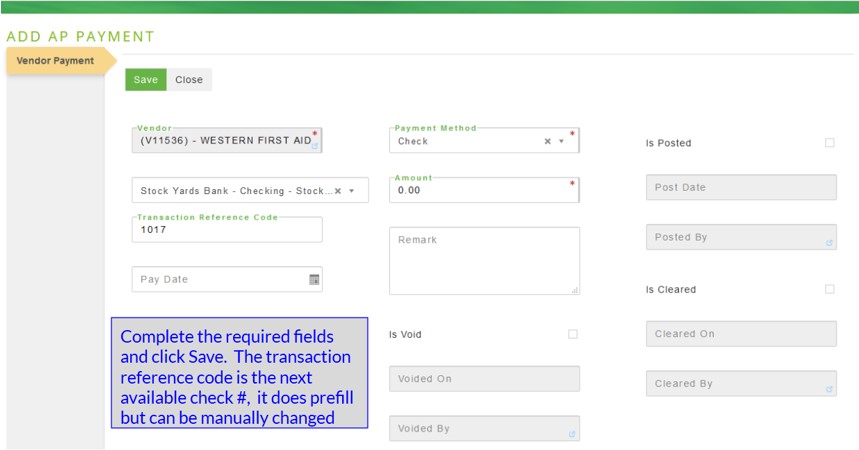
Confirmed Receipt if you're paying an existing receipt otherwise you must create an invoice to pay.
Vendor Terms must be assigned.
Process Description
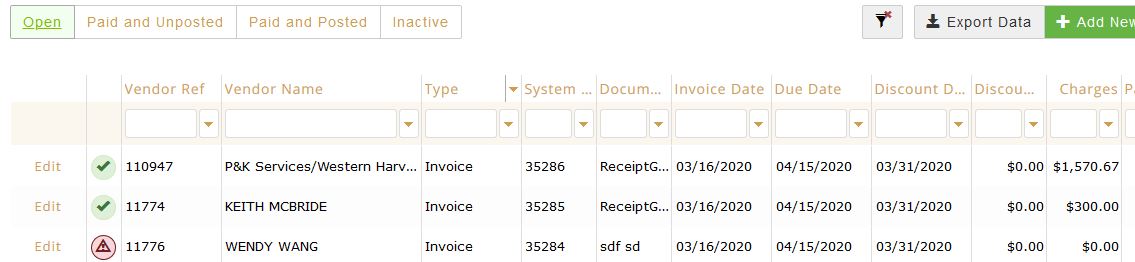
The main page displays the Active AP Invoices that have been either manually entered into the system or that have originated from the Generate AP Invoices from Receipts. It is also where you would manually add invoices to pay such as a purchase from a vendor for supplies, a utility bill, incidental expenses, etc. You can use an invoice validation amount. IT IS NOT REQUIRED. If you want to enter the amount to pay when you're entering the line items it will give you a balance or inbalance warning (red or green symbol). If you do not use the validation amount (which is adding an extra step to the process) you will not see a red or green symbol which is just fine. The amount you're paying is displayed at the top of the invoice anyways so there is not really a need to enter a validation amount unless you need an extra layer of checking to make sure you entered the amounts correctly.
There are multiple tabs at the top so that your invoices aren't all lumped together. The open contains invoices that are still needing to be paid and posted. The paid is done shows only invoices that have been paid but have not be posted to the GL yet. The Paid and Posted are basically the invoices that are completed in the system, they have been paid and they have been posted to the GL.

Process:
EDIT
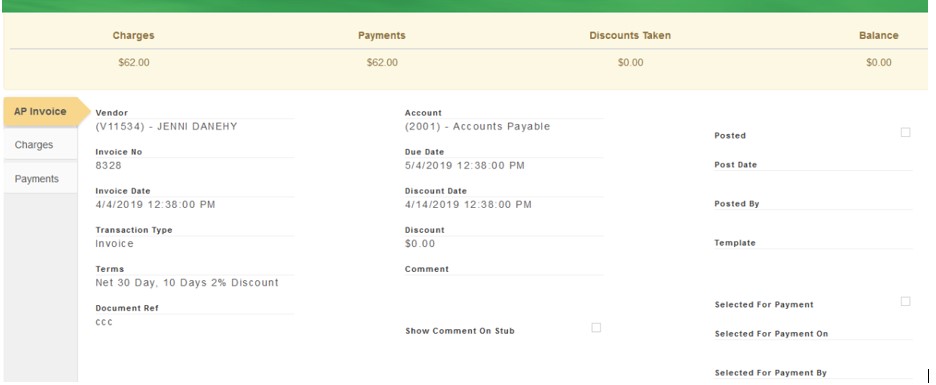
Locate the Invoice and click Edit. There are 3 tabs on the side:
The AP Invoice tab displays the information about the invoice.
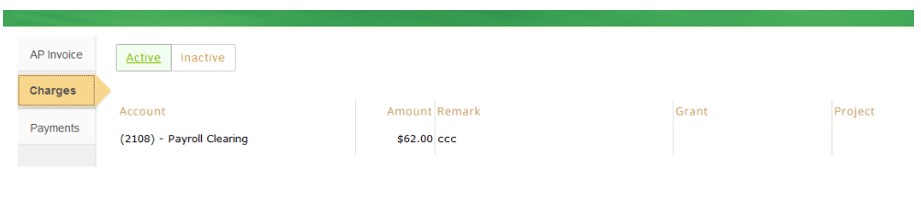
The Charges tab is the amount of the invoice and the GL account that the invoice is for.
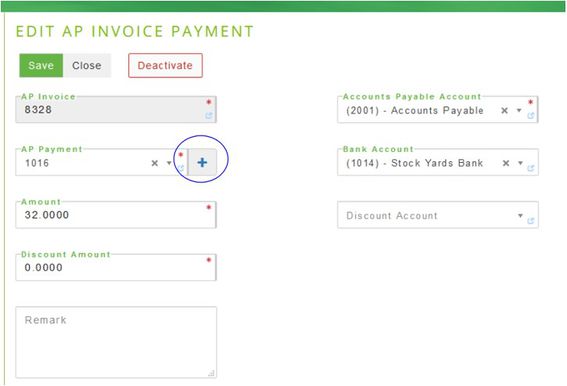
The Payments tab displays the active payments towards the invoice. You can have multiple payments for an invoice.
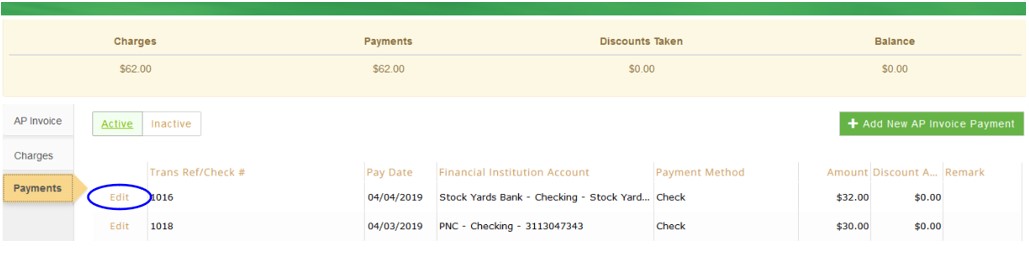
If you click on the Edit from the Payment tab you'll see the details. At this point you can still change the GL accounts and add another payment towards the invoice. In our example above we did one payment on 4/3 and another one on 4/4. If any changes are made click Save.
ADD NEW
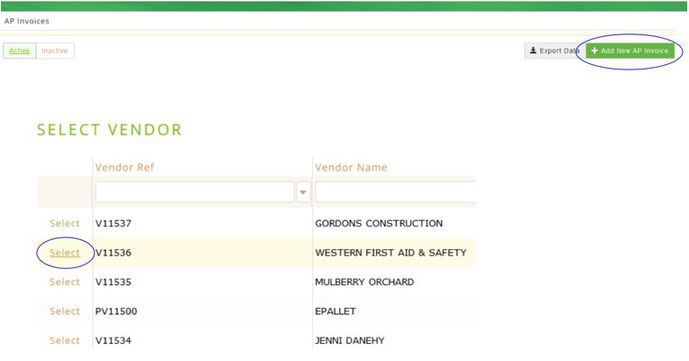
Select + Add New AP Invoice to manually add an invoice as opposed to an invoice that's created from a receipt, then select the Vendor.
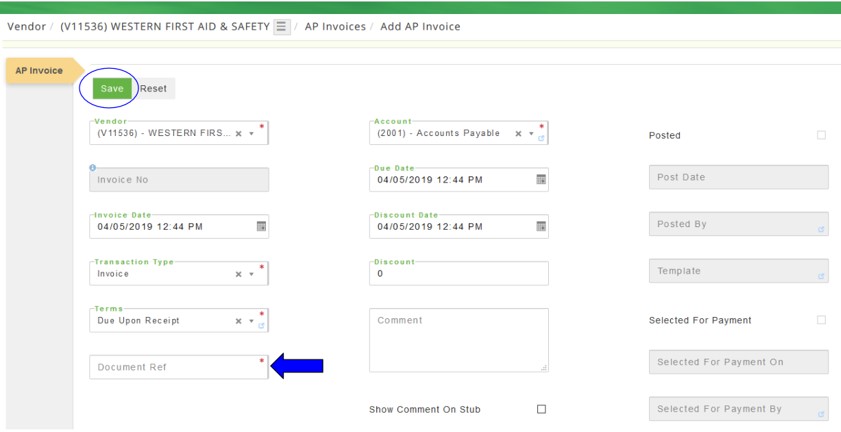
Verify the Vendor details, enter a document ref such as the vendor's invoice #, the Account defaults from the General Setup-Accounting tab but you can change that on a per transaction basis. The Transaction type can be an invoice, a recurring transaction (rent, electric, water, etc.) Allocating, or a Debit Memo.
Select + Add New AP Invoice Detail.
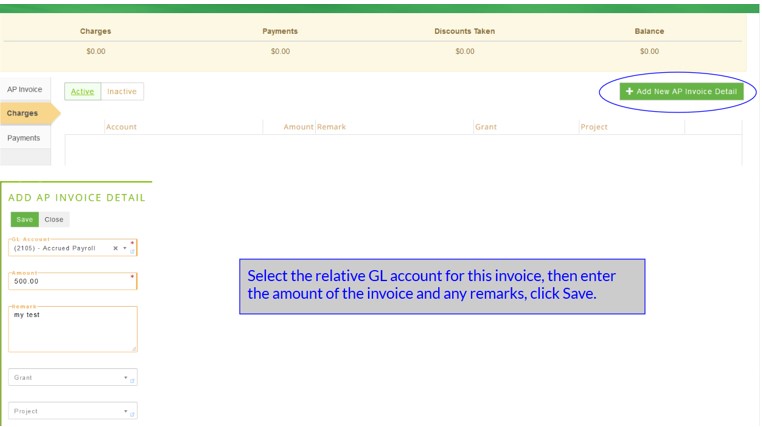
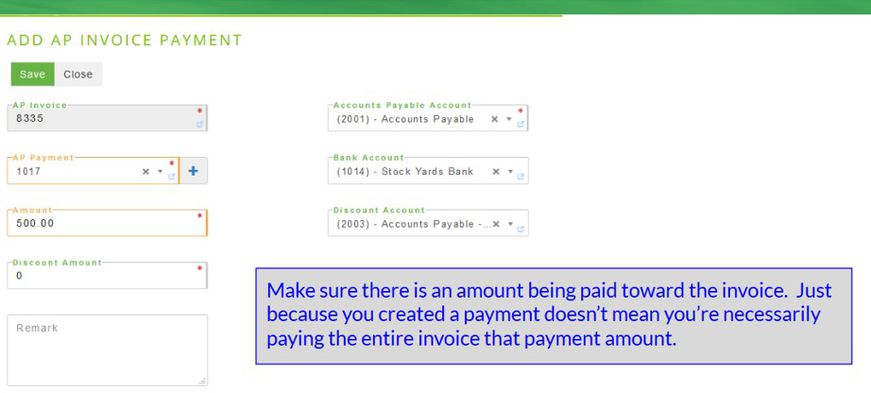
The amount you enter on this page doesn't have to be the same as the total amount being paid towards the invoice. For instance you may be paying part of the invoice from one checking account and part from another checking account. After you enter the information click Save then Close.
Click Save then Close when finished entering the payments.
Once you are complete you can use the P2 main menu to navigate away from this page.
--Vendor Credits--
If a vendor issues a credit towards an invoice and the invoice is not paid yet:
Open up the invoice and add a NEGATIVE charge for the amount of the credit, remarks can be added to explain why there is a credit being added. The resulting amount leftover will be the amount being paid to the vendor.